

Hello everyone! I am sharing a post today that I am extremely excited about. As most of you know, we have a corner fireplace in our condo. Over the 4 years we have lived here, I have often found it a challenge to decorate, because instead of having a normal mantle I have a very large corner shelf basically. Though I’ve always managed to make due and set it up in ways I am happy with, for a couple of months my brain had been churning with ideas of how I could make the mantle easier and more enjoyable for me to decorate. I came up with the idea of having a shiplap style wall above it to bring it in from the corner and create a more traditional looking and polished mantle, but because we live in a rental I was concerned with doing anything more to the walls than just hanging things, let alone a renovation type of project. I was talking with my husband about it, and asked if he thought it would be possible to build a sort of base or backing that could fit into the corner that we could nail the shiplap to, rather than nailing it to the wall. He, as per usual, suggested we talk to his dad. Upon consultation my father-in-law, being a professional builder/finish carpenter and expert of all things construction related, simply said something along the lines of, “oh yeah, this will be a piece of cake!”. And the following week we began working.
Here is an image of my mantle for fall this year before the project (you can view the full post on it here)…
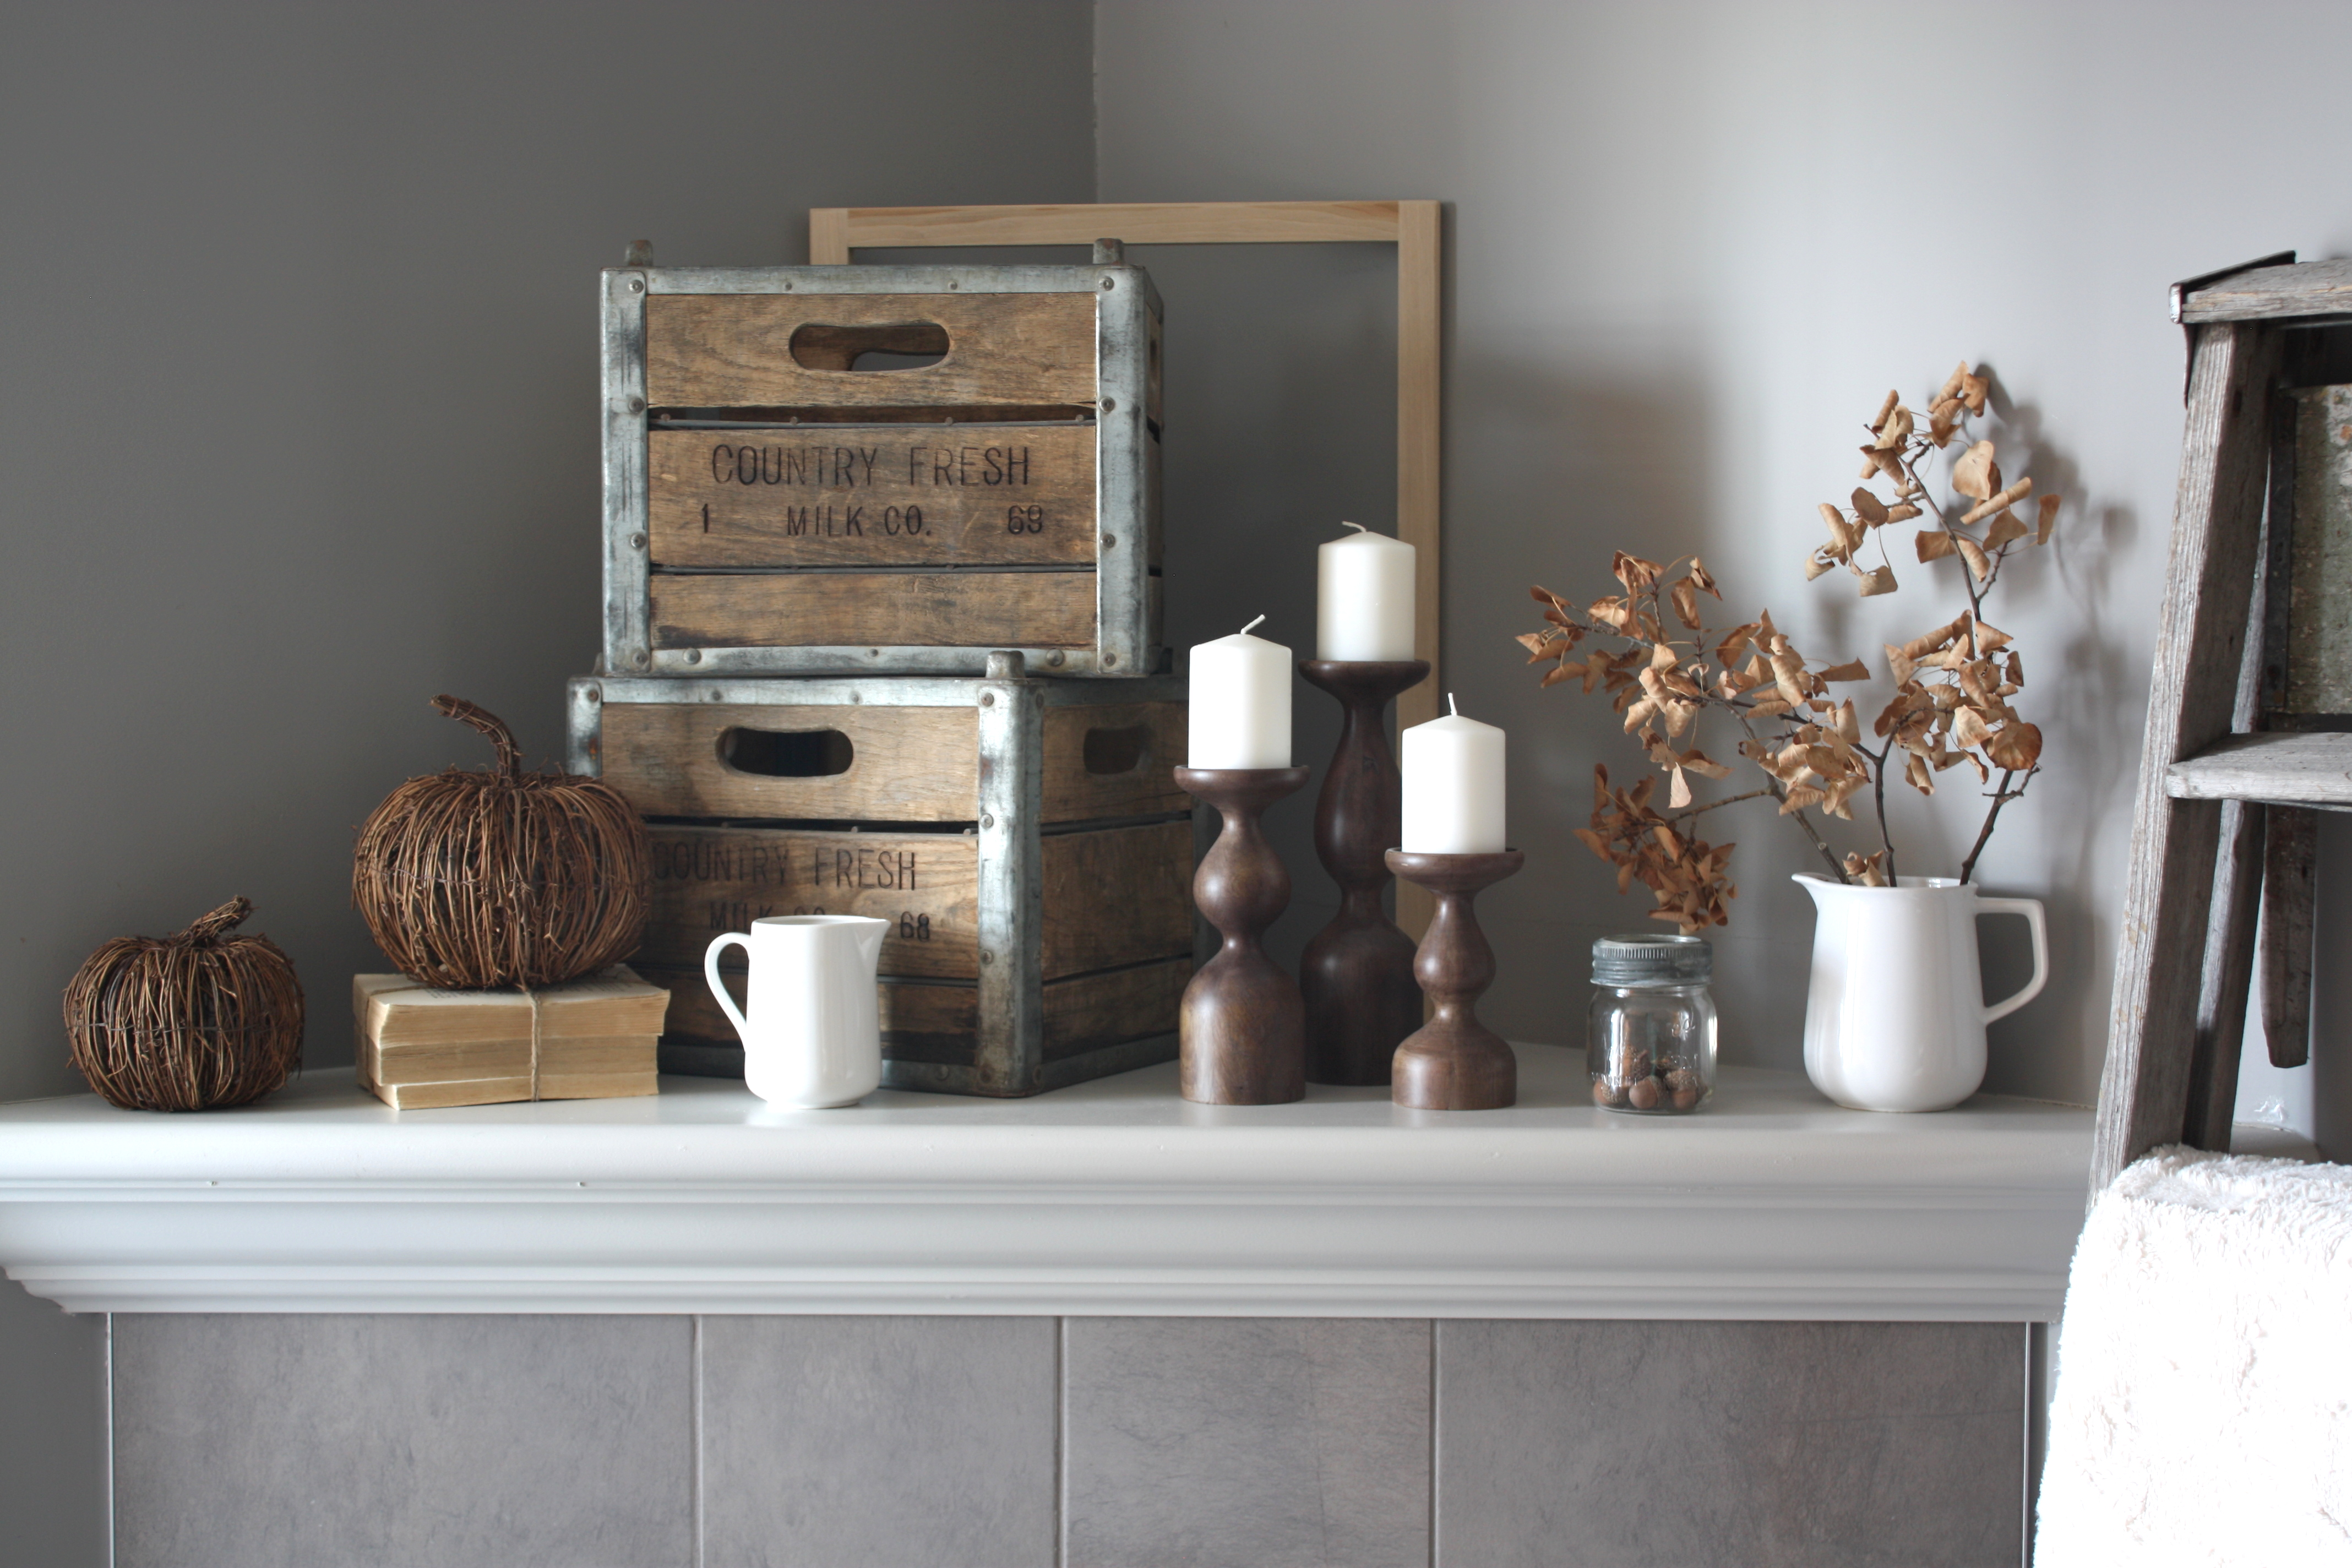
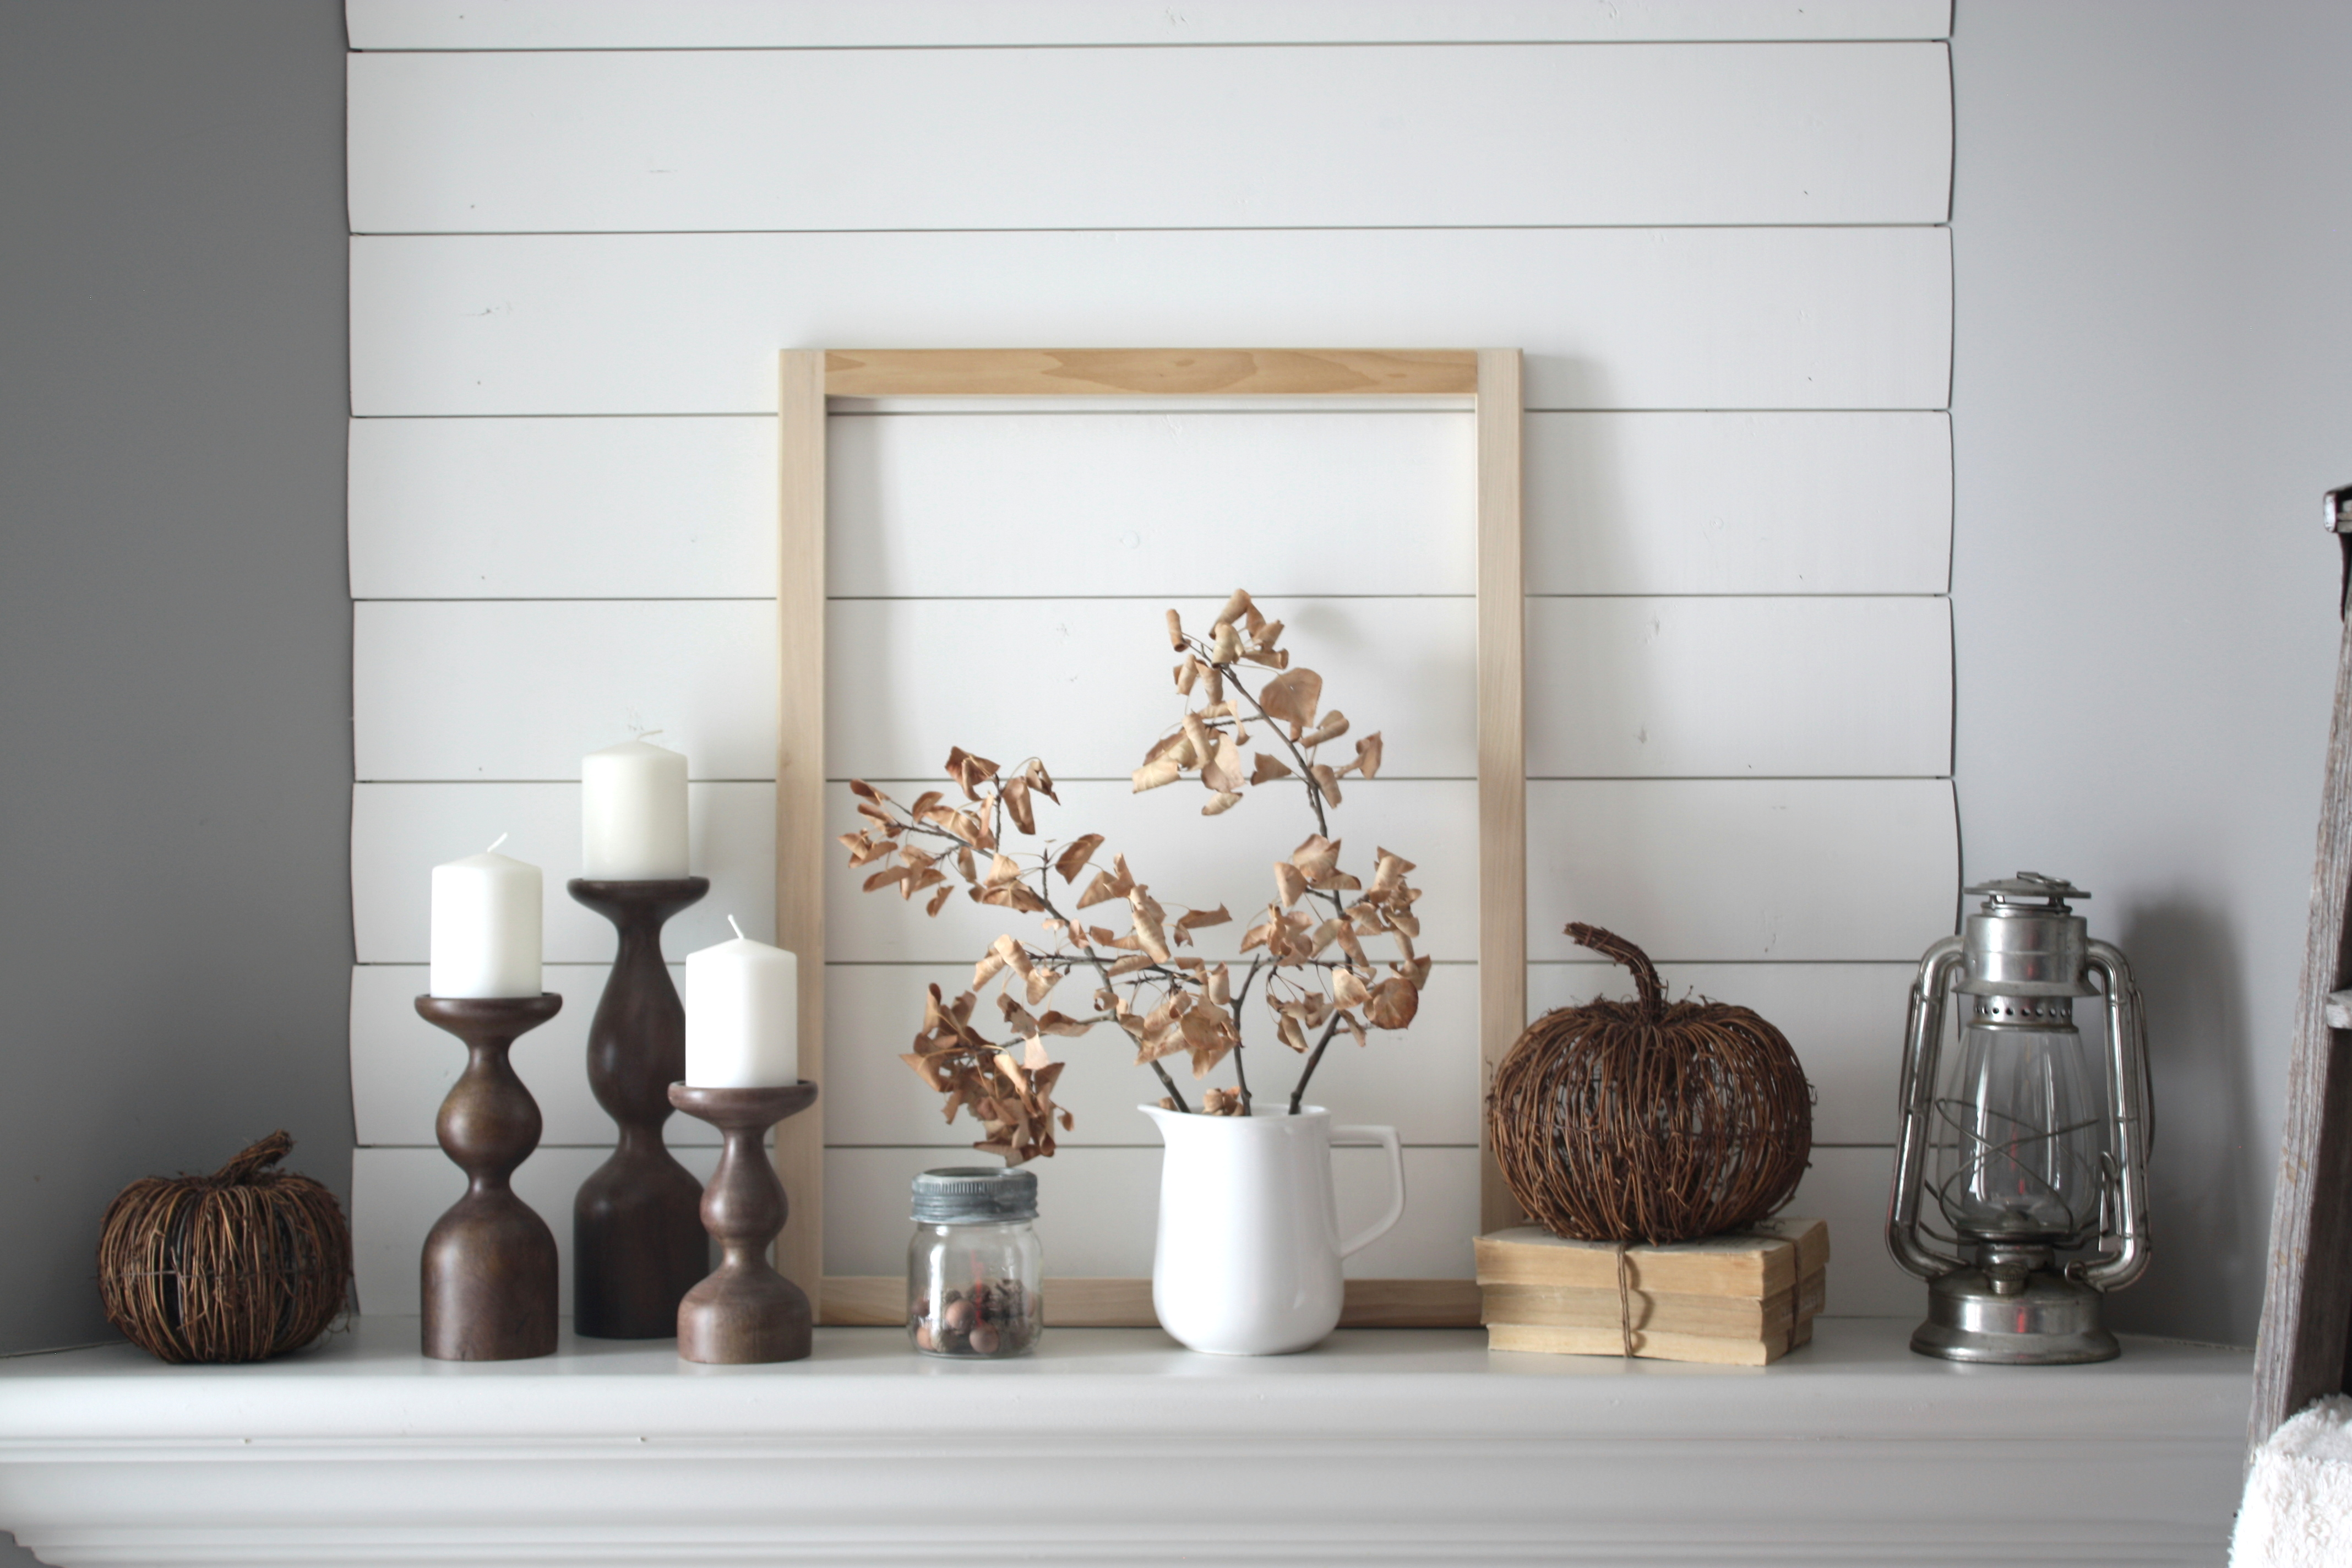
And here is a look at it afterwards!

To be honest I didn’t put much thought into what I put back on there to show off this project, as I will be changing over to winter and Christmas decor this week, haha. I am so happy with how the wall turned out! Now to let you know the process…
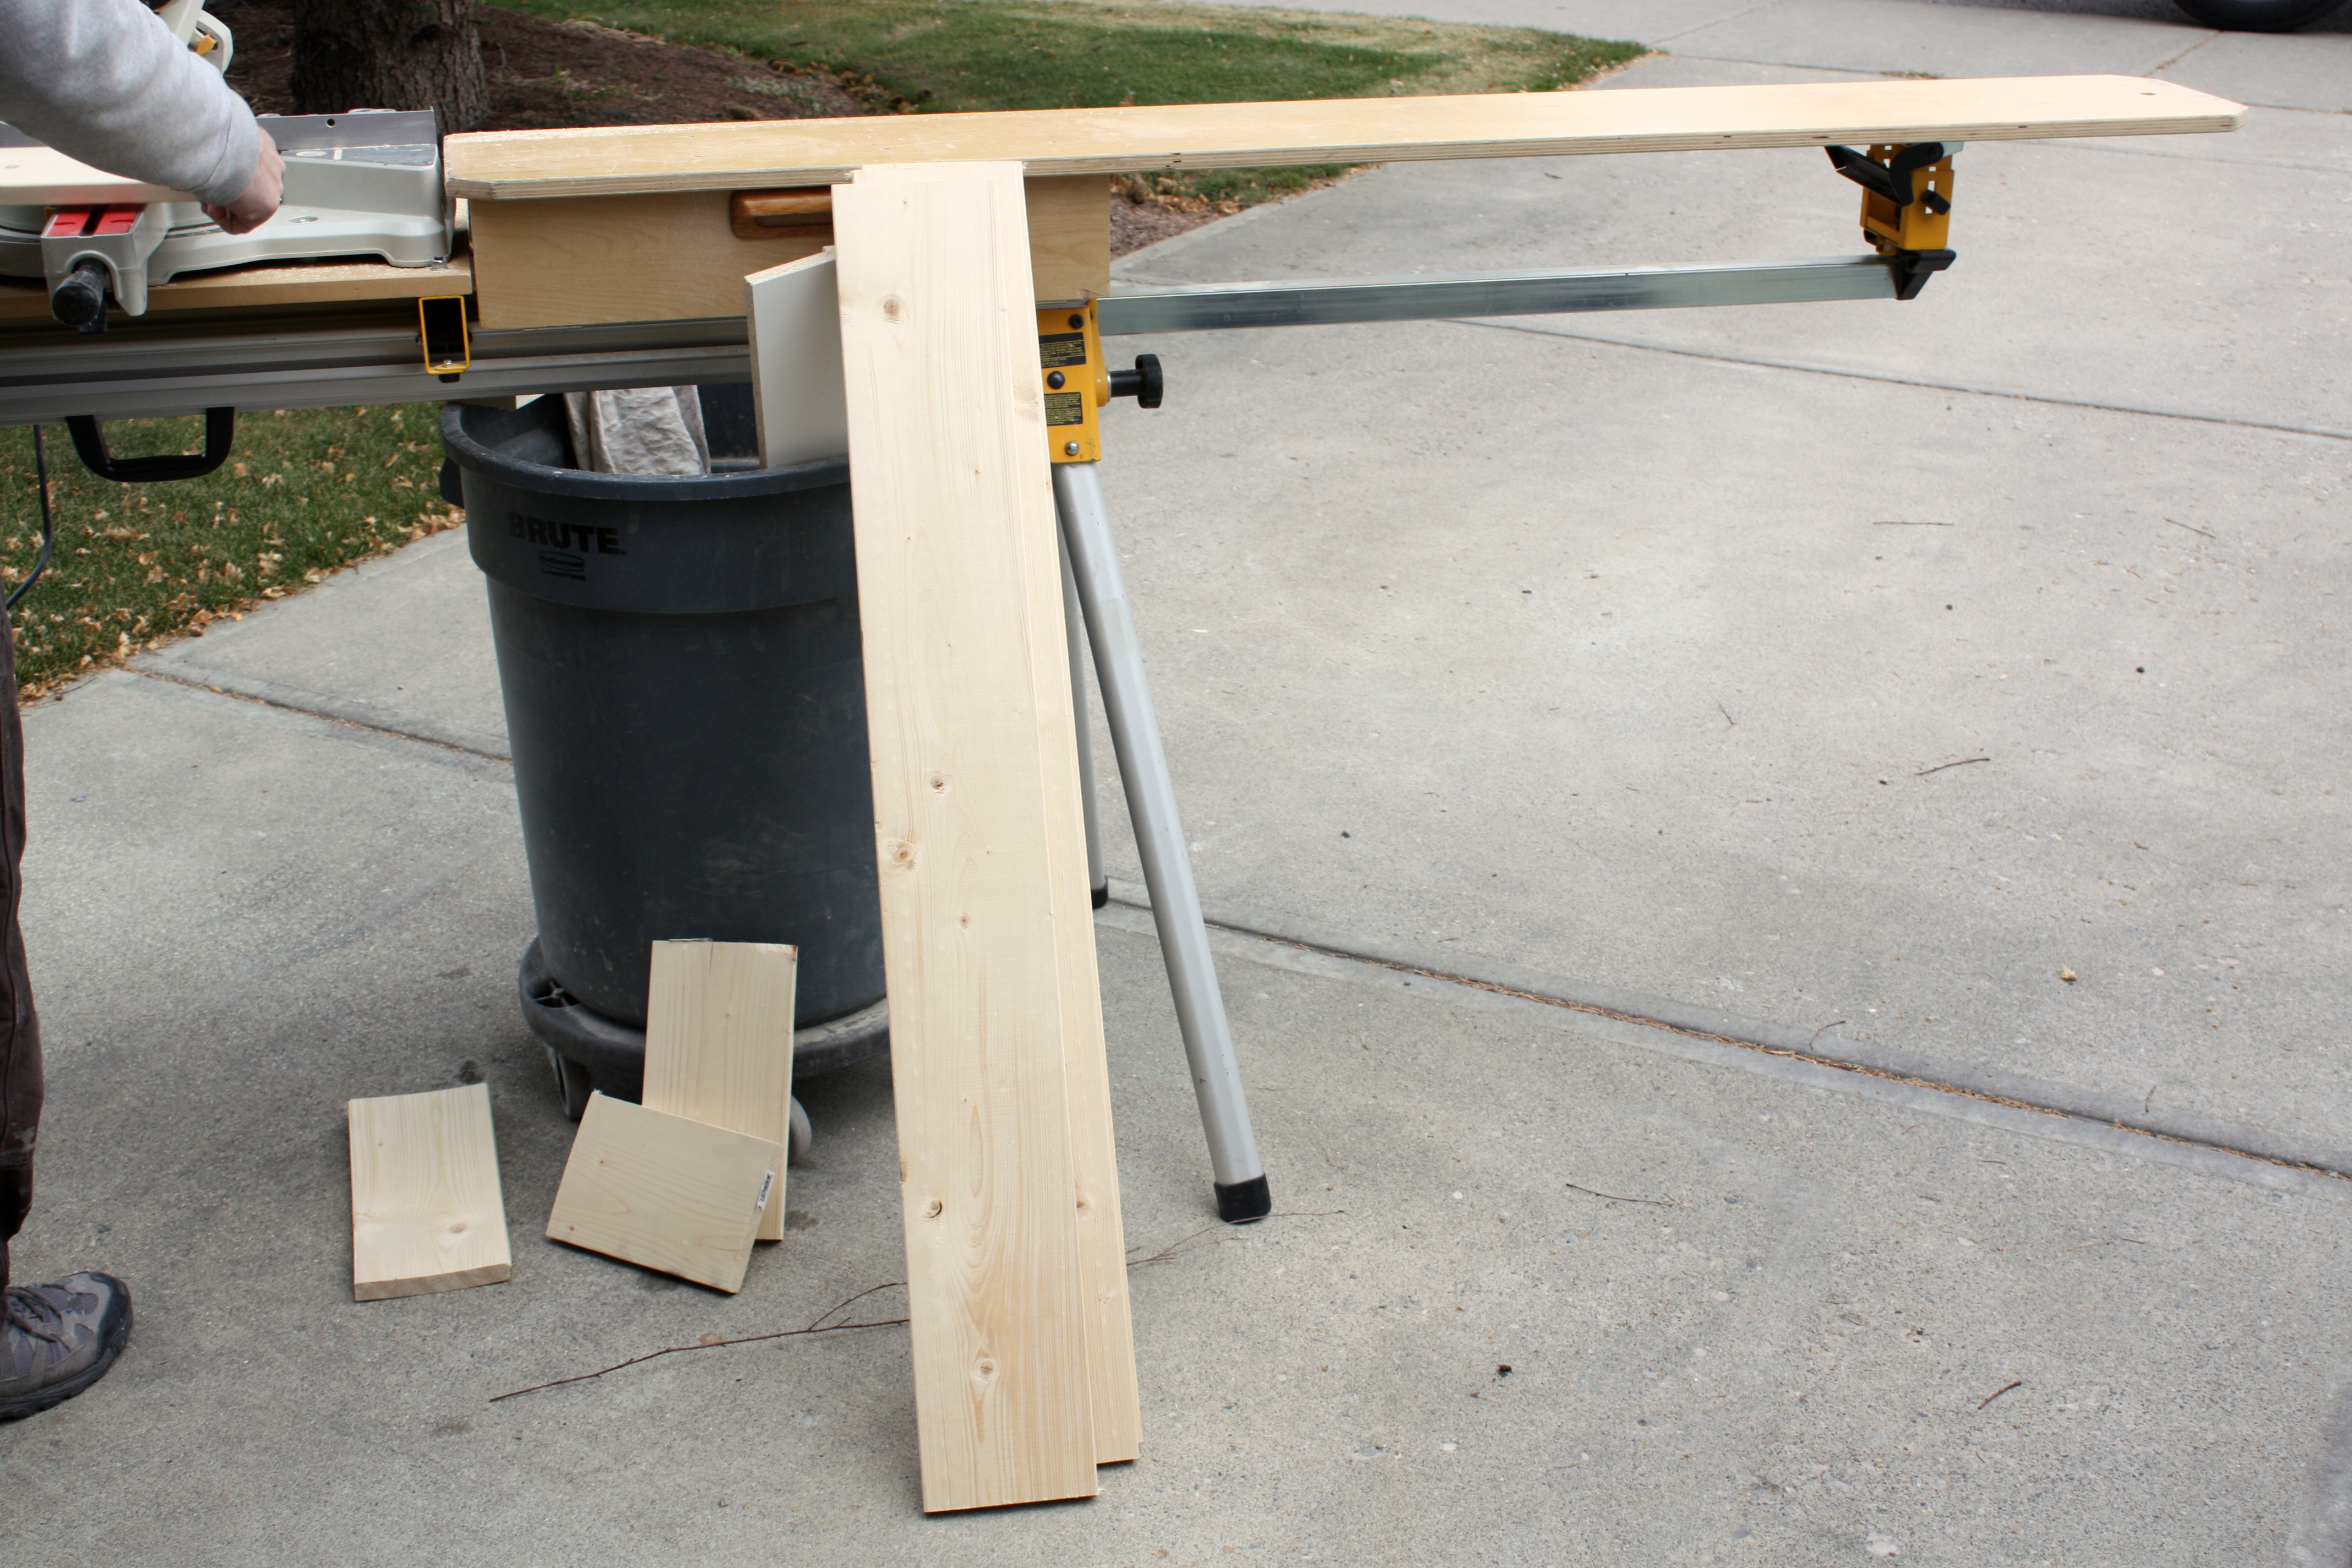
My father-in-law and I picked out some 8 and 10 foot pine boards at Home Depot. Once we got them back to the house we cut them down to the size I had measured I would need them to be. We also ran them through the table saw to ensure they were all the same width (lets be honest, by “we” I mean him entirely).
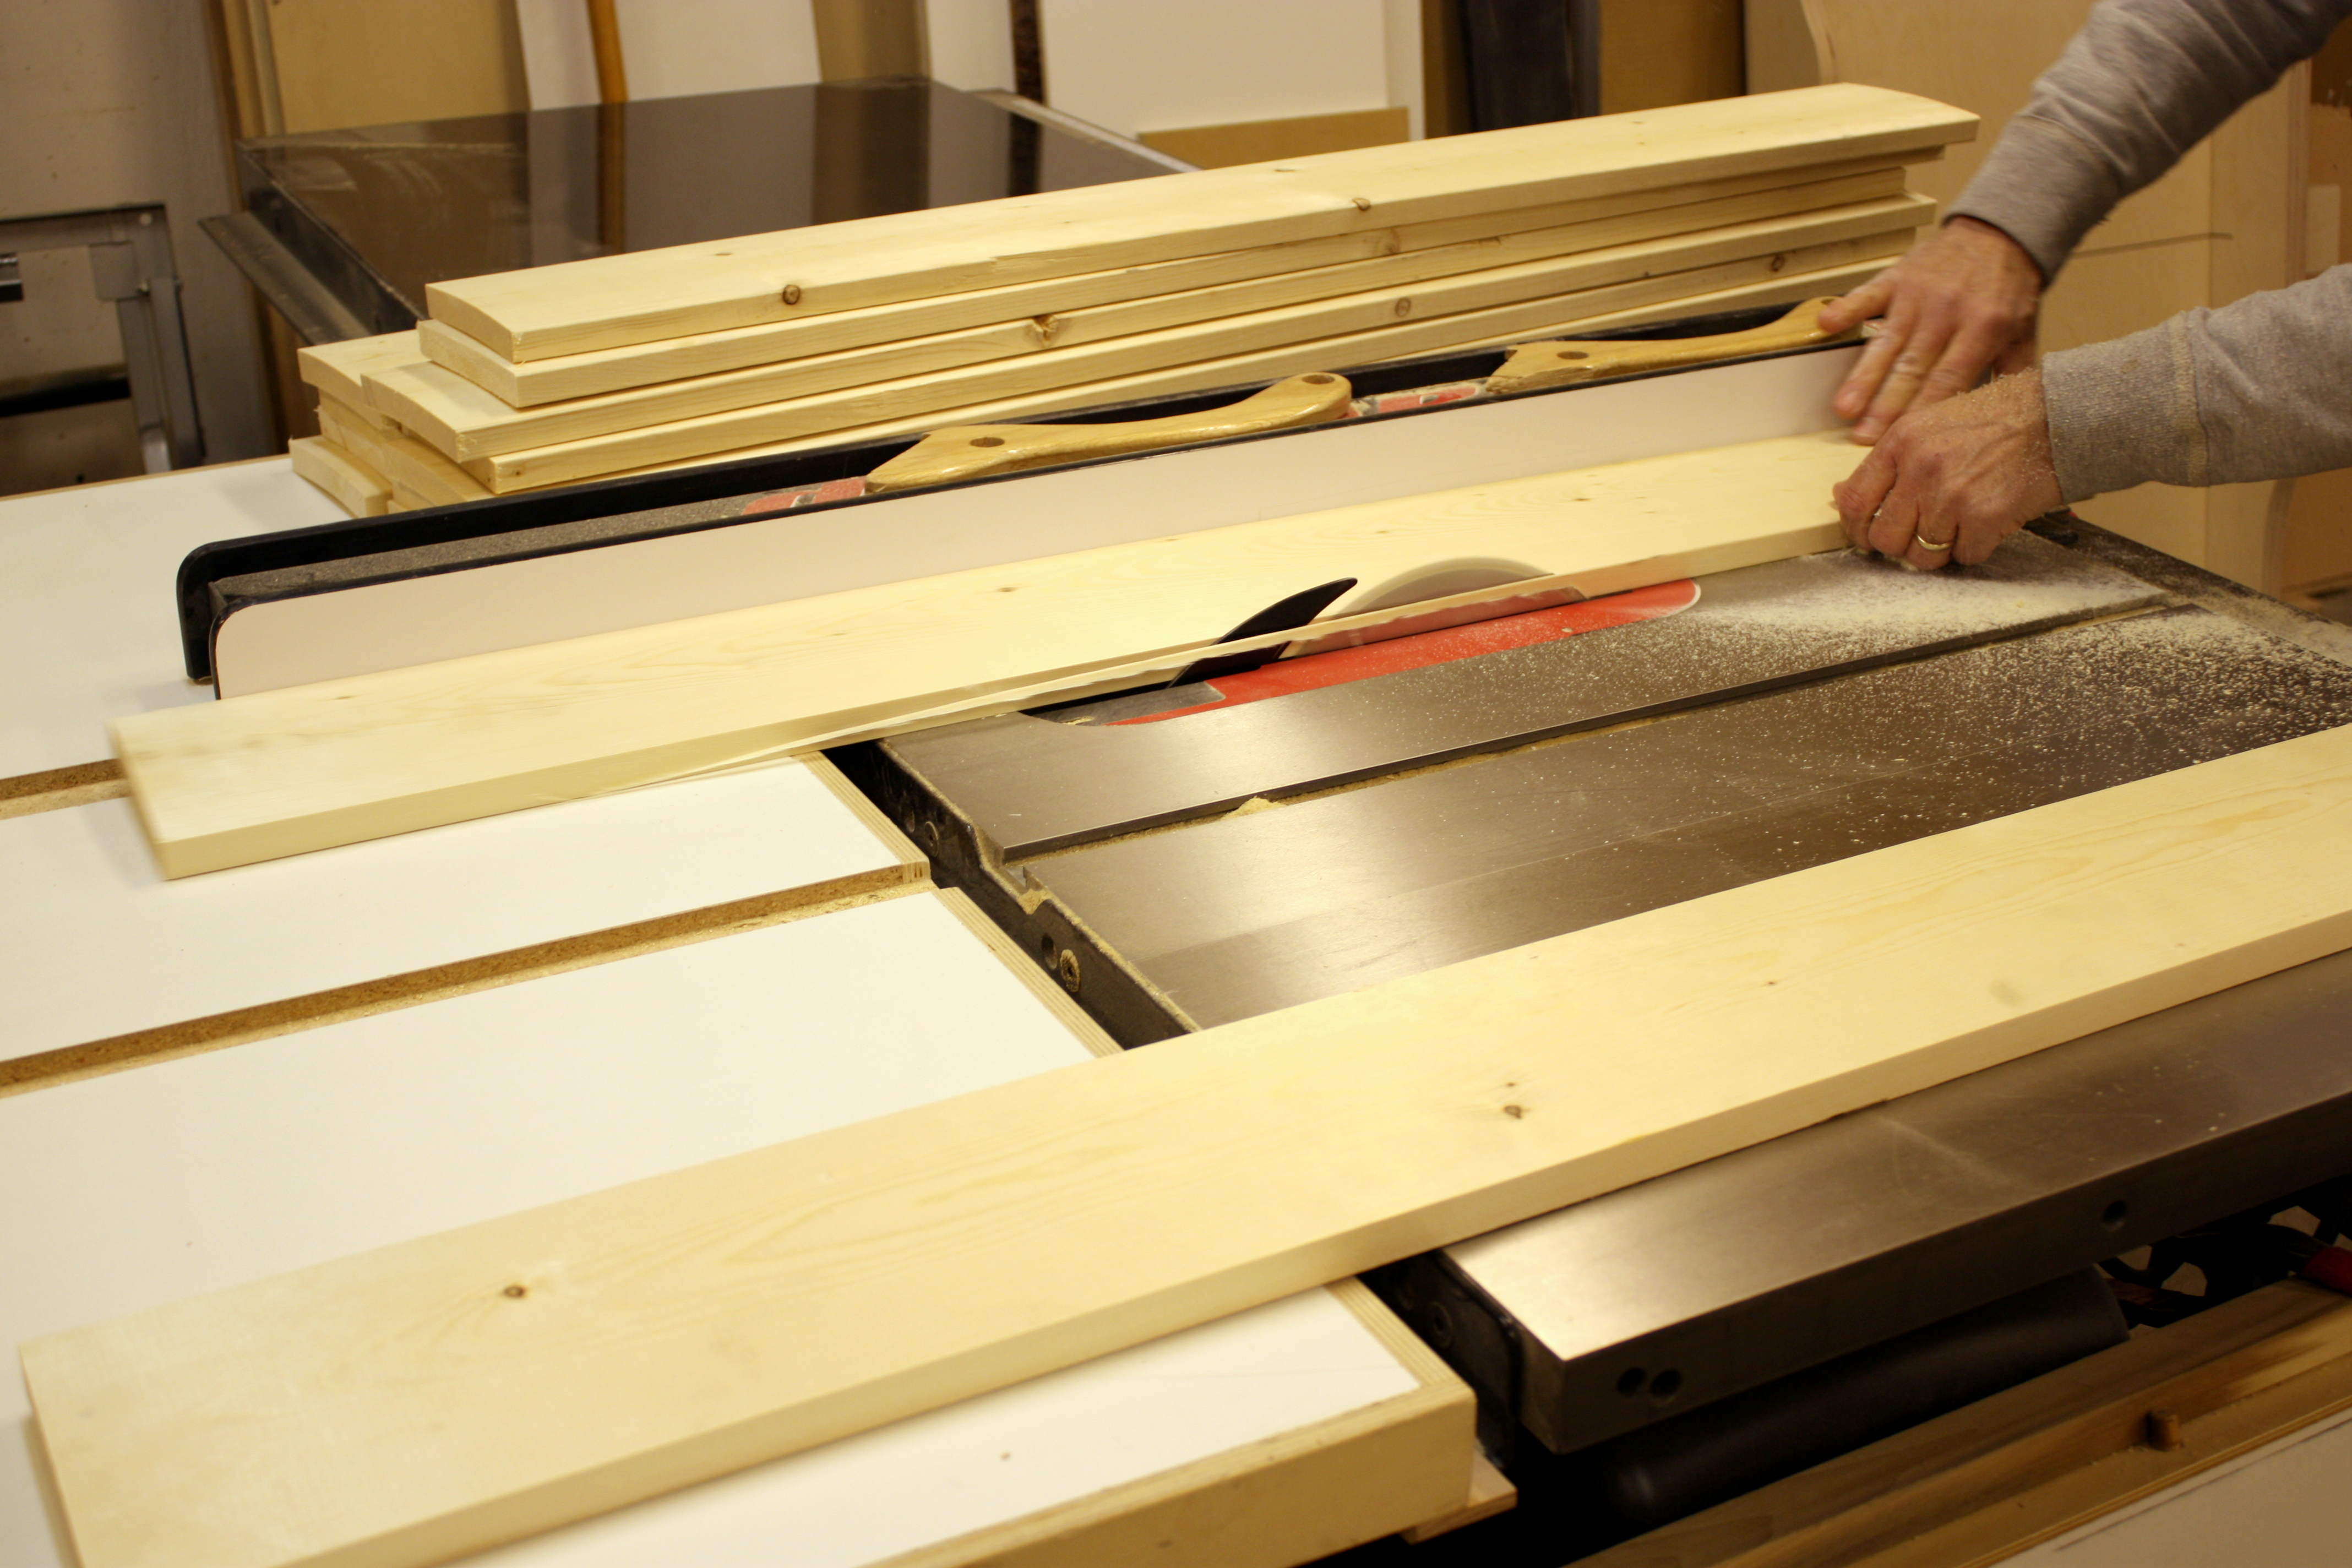
After that it was time to create the shiplap style groves in the boards. He again used his table saw to do that.

I sanded them down a bit, then took the boards home and painted them all a flat white colour from Benjamin Moore called CC-20, Decorator’s White. I ended up doing 3 coats, though this picture is just after the first coat (so they are much brighter now).

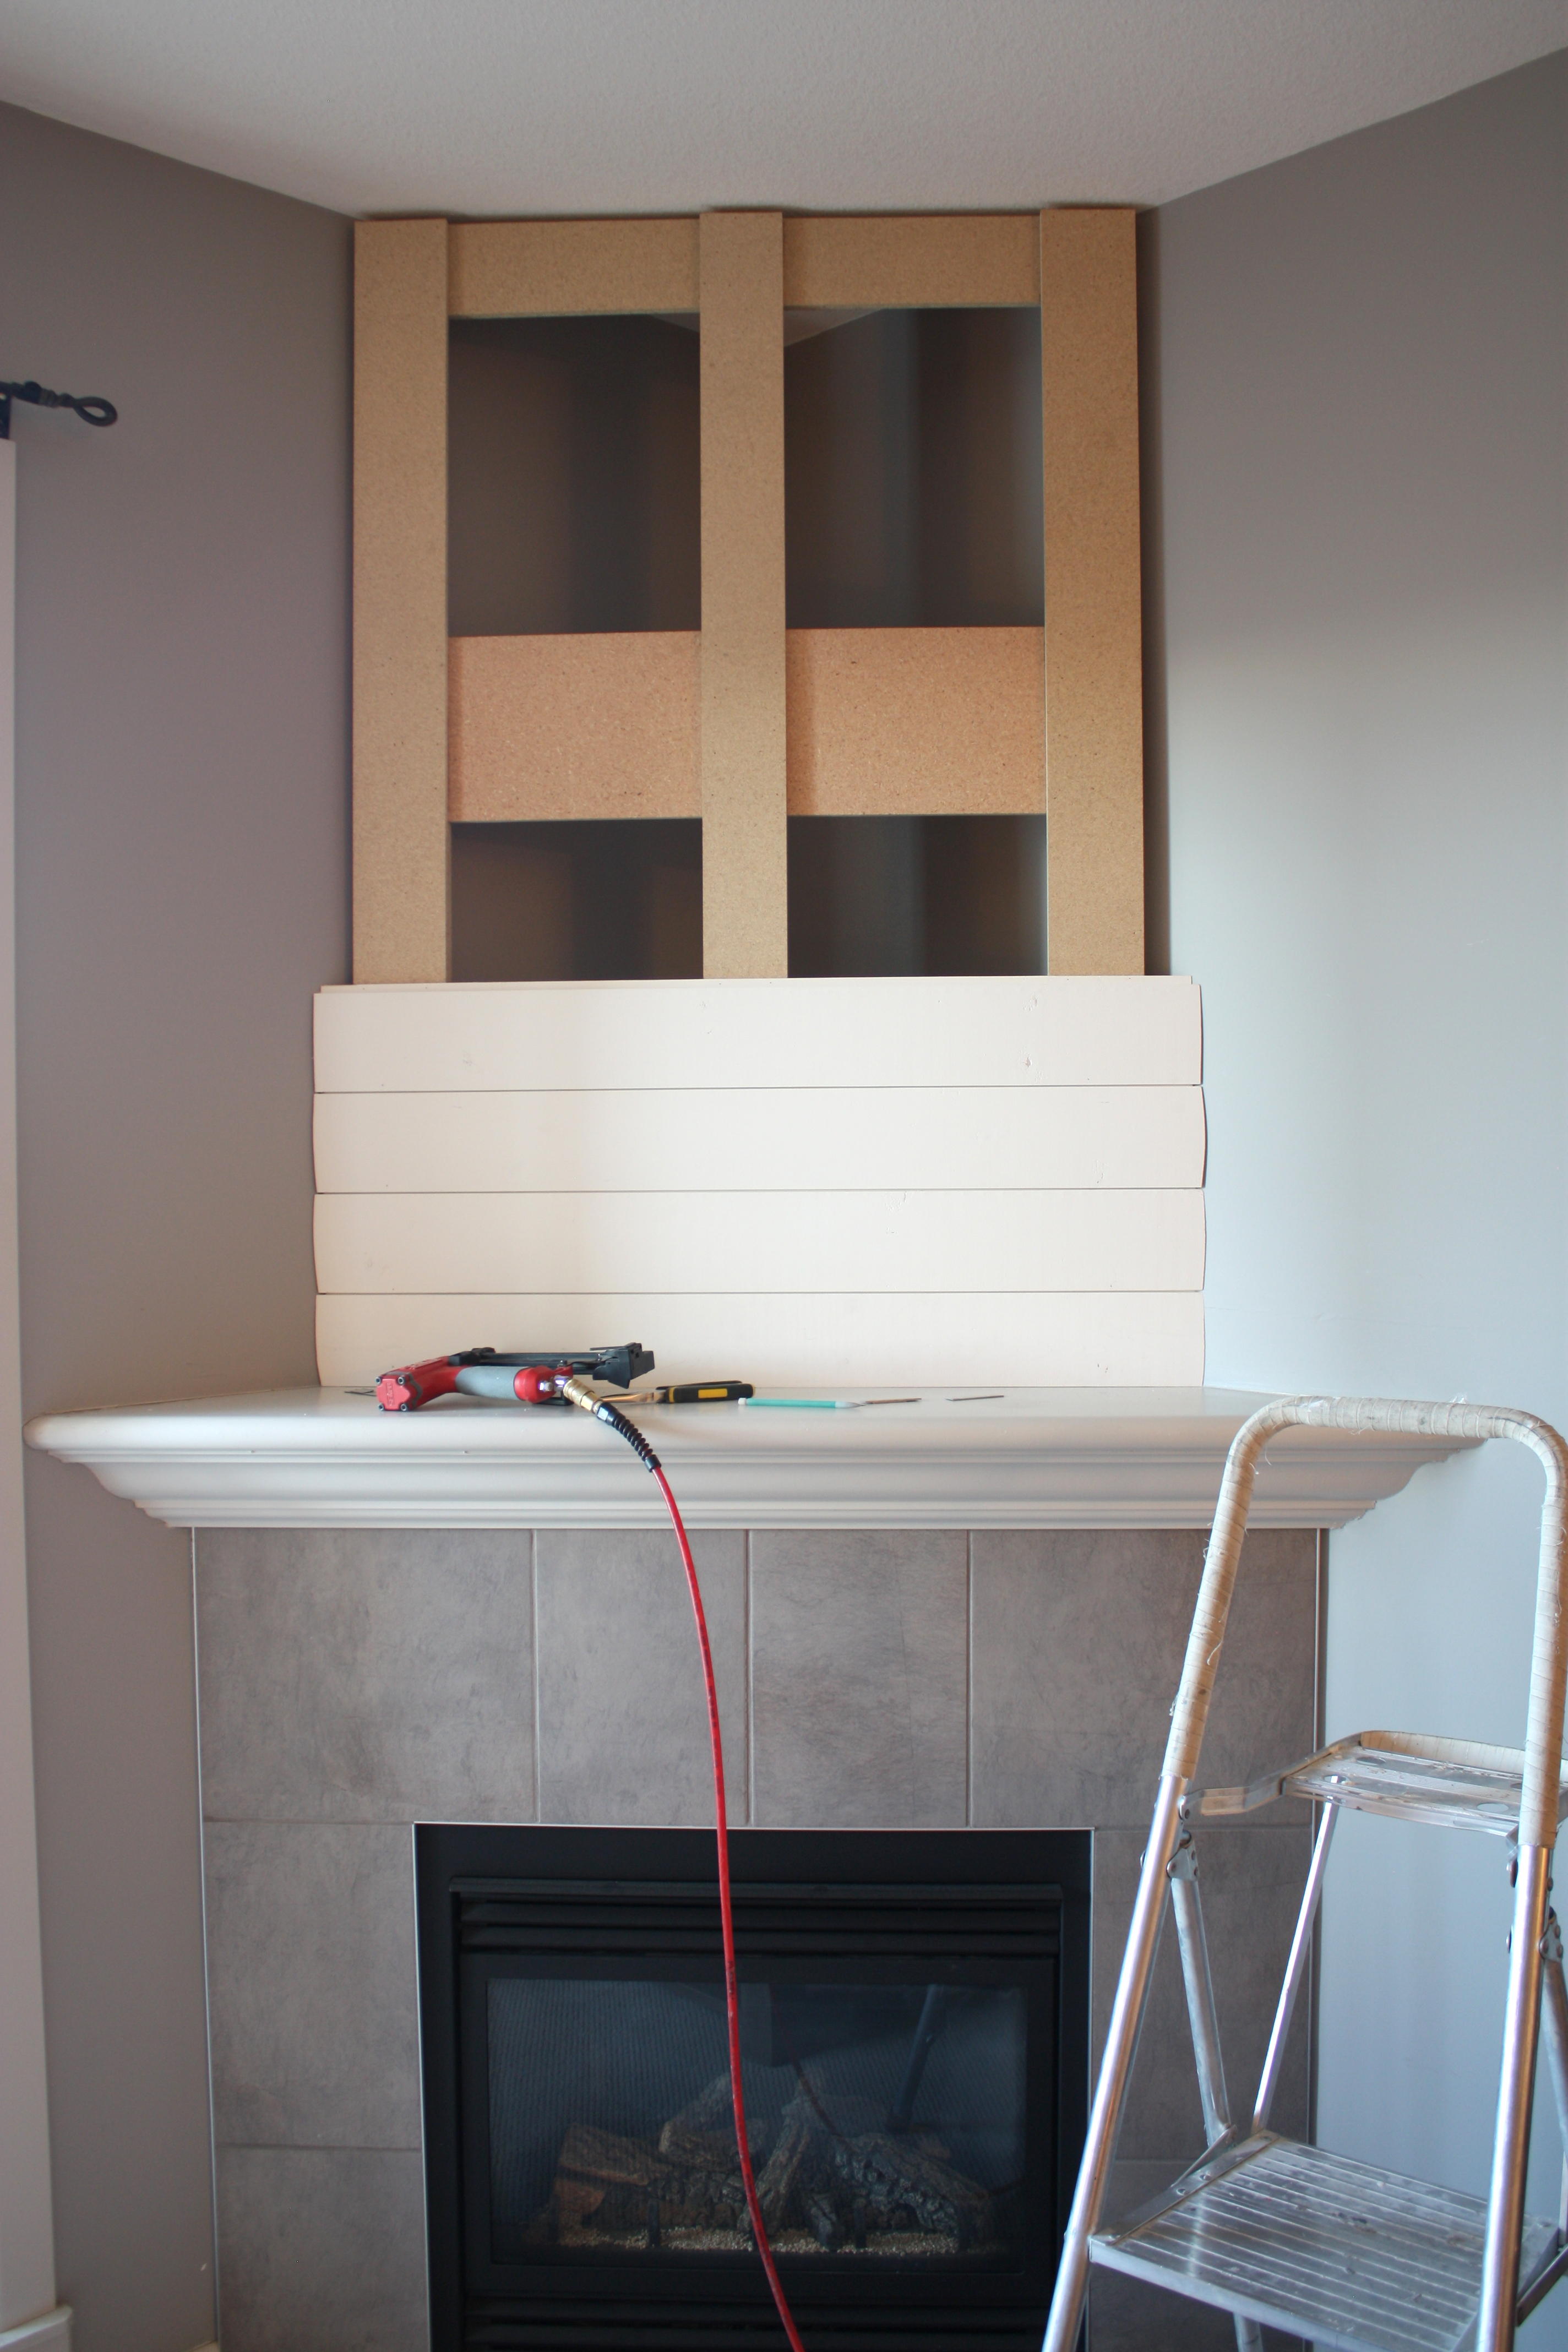
Once the painting was done, my father-in-law came over with the base that he built out of some scrap plywood he had laying around (along with some weight made from plywood which we put at the bottom to keep the unit from tipping forward!), and we began to assemble the wall.
He brought along his mitre saw, and cut the ends of the boards at an angle so they would fit flush against the wall, rather than sticking out. Then he and my husband started putting up the boards!

Once that was all done, the wall looks like this with nothing on it…

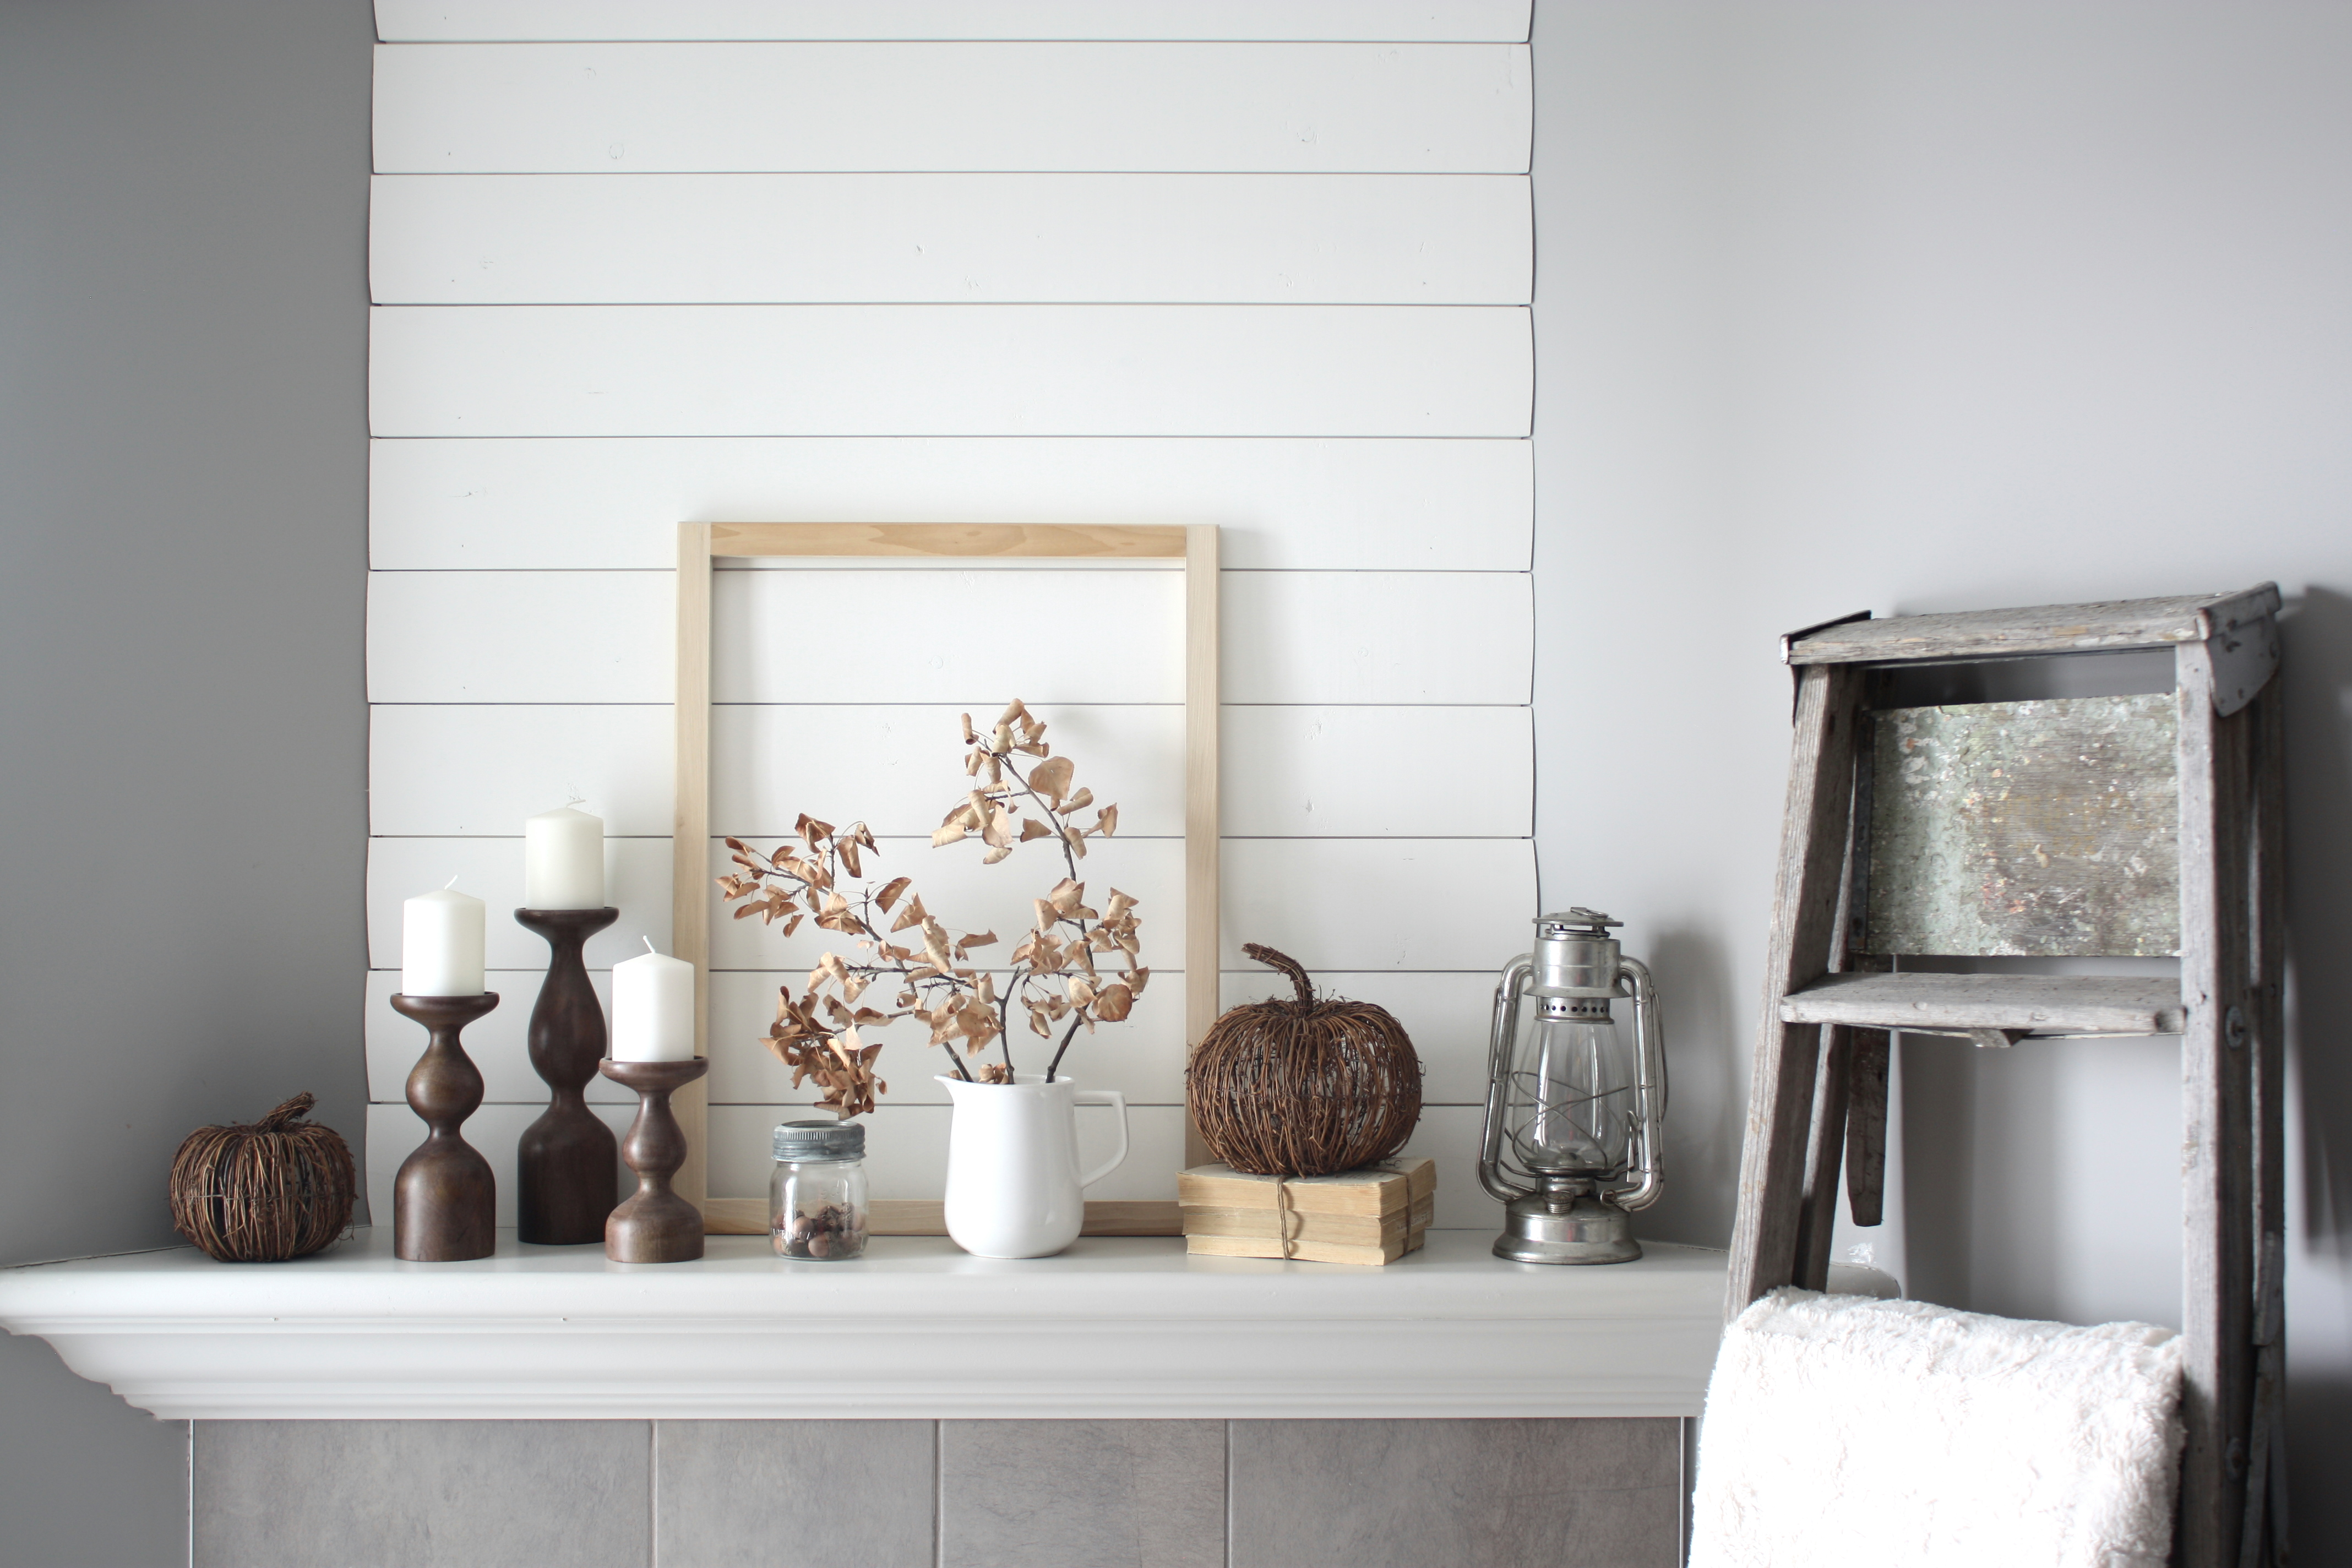
And once all decorated, I think it looks so lovely!

We have found that this new wall brightens up the room so much, and adds some character and overall a new feel to the space.
 I hope you enjoyed having a look at this project. I am sure loving it in our home. Now off to start redecorating for Christmas and the winter season!
As always, thanks for stopping by.
— Rachel, at The Porch Light Cottage

I bet yo will inspire alot of people with this. it looks great!
LikeLike
Thanks! I hope so, it just makes this space so much nicer. 🙂
LikeLike